Welcome to Trimble's Toy Emporium . Established in 1880 by proprietor Mortimer P. Trimble !
Finally I have finished work on the outside of my shop and the finishing touch was the shop sign.
"Trimble's Toy Emporium ? " you may well ask , "isn't the toy shop called Belle's Emporium ?"
Well that is the name for the stories I am writing set in this very special old Toy Shop.
Belle lives there with old Uncle Mortimer , but of course Uncle Mortimer has owned this shop for many years and it is his name above the shop.
But, more of that later .
For now lets talk about the building itself.
My cunning plan to disguise the wiring worked............eventually !
I've never kept it secret that I am a bit of a bodger. Things usually come right in the end but through sheer luck rather than miniature building skills. I do learn from my mistakes and you might too, I certainly made enough of them this week !

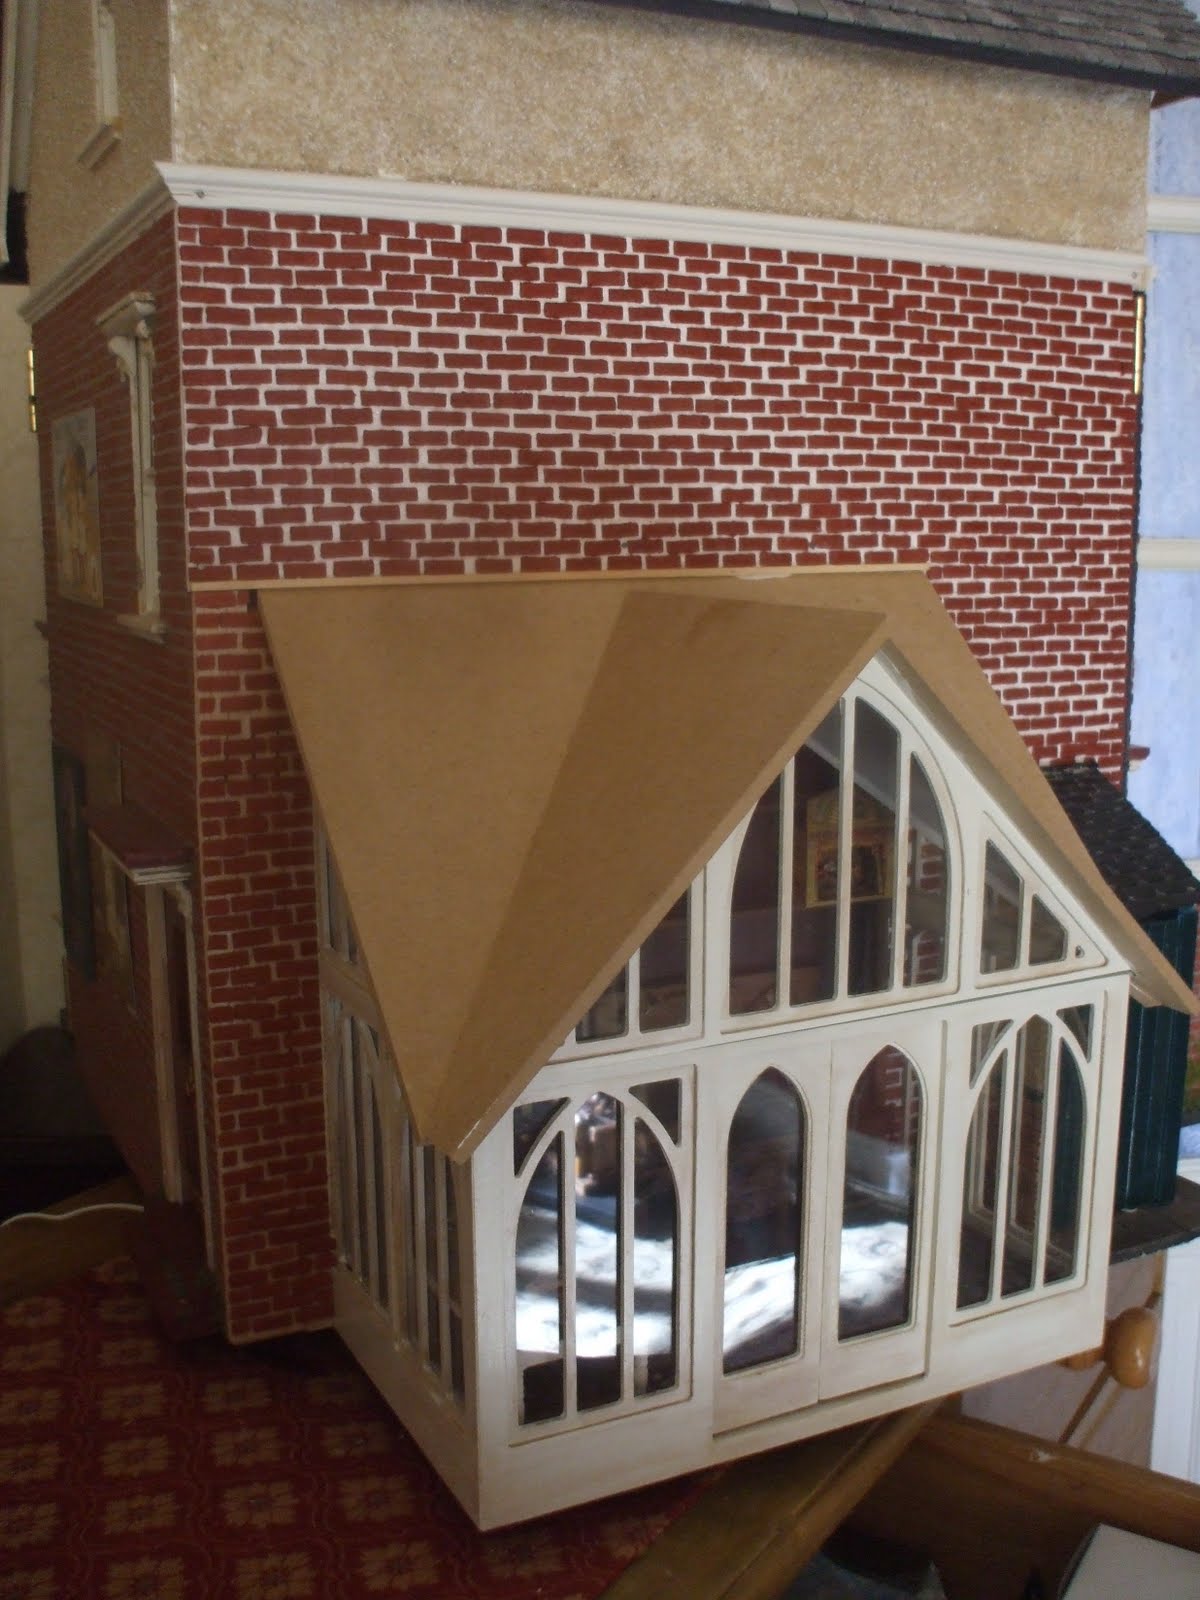
Here we have the first step of the cunning plan. I decided that foam board would be the best material for the back panel which would hide the wiring of the house . I cut it to shape with a stanley knife and pebble dashed the top to match the rest of the house.
So far, so good !

I glued the out house in place on the foam board and cut a hole out for the wiring to come through inside.

I then taped all the wiring in place ready for me to glue the panel on.
While the foam board was flat on the table I glued on the brick slips and left it to dry over night.
Problem one soon made itself known. The glue had warped the foam board which dried with a definite curve.
Problem one soon made itself known. The glue had warped the foam board which dried with a definite curve.
Not one to be beaten I glued the back of the panel as planned ( pulling the wires through the hole in it and into the outhouse) and attached it to the back of the house. I had some very small nails and knocked those in round the edges and magically all warping dissappeared and I ended up with this rather perfectly fitting back panel.
I was thrilled and left it to dry.
This is when problem two reared its ugly head.
Now when I was taping my wiring down I checked every one to see that the lights and sockets all worked.
Yet now when I plugged them in nothing at all worked !!!
I couldnt figure it out . Then I unplugged them all and plugged in just one and that worked.
I tested every one in this way until I got to the wire leading from the kitchen light. There was a blue flash and everything went off again.
I unplugged it and everything worked . I knew right away what I must have done, I must have knocked one of those nails though the kitchen light wire !!
Of course now the panel was now glued firmly in place . I have had to remove the kitchen light and now need to replace it.
However I have a cunning plan to hide the wire when I finally get one sorted out ..............

To cheer myself up I did a little work inside the work shop. It is still quite bare but taking shape and I am very happy with it so far. I have a huge list of things that must go in here but for now this is how it looks.

I used a piece of balsa wood tomake a tool rack for the back wall.

There will be an old stool at the table where Uncle Mort sits to paint the toys.

This is the shop now completed from the front. I love the shop sign. Its slightly wonky, and a bit distressed and exactly what I wanted ! I simply used word art in my microsoft word programme and some free clip art then printed it out on linen paper . I glues this to the sign board and then stippled on a little burnt umber paint with a dry brushing technique to age it up.

Here you can see the street light is working ! I need to hide the base of this with some greenery as I dont like it but the rest of it is just right.
You can also see here my lovely St. Bernard pulling a buggy. This is from Roberson's and I fell in love with it when I saw it at Scottish Miniatura so had to buy it .

Finaly here is the back of the house with the grouting in place and the roof tiled. I have just glued on the moss and it needs to be brushed off a bit when dry sowont be quite as obvious as this when I am finished.
The bricks , tiles and grout were from http://www.minaco-uk.com/ really lovely products to work with at a reasonable price and Graham who runs it is very helpful.

Just a few finishing touches now to the interior decor and the Emporium is ready to be filled up !
julie xxxx